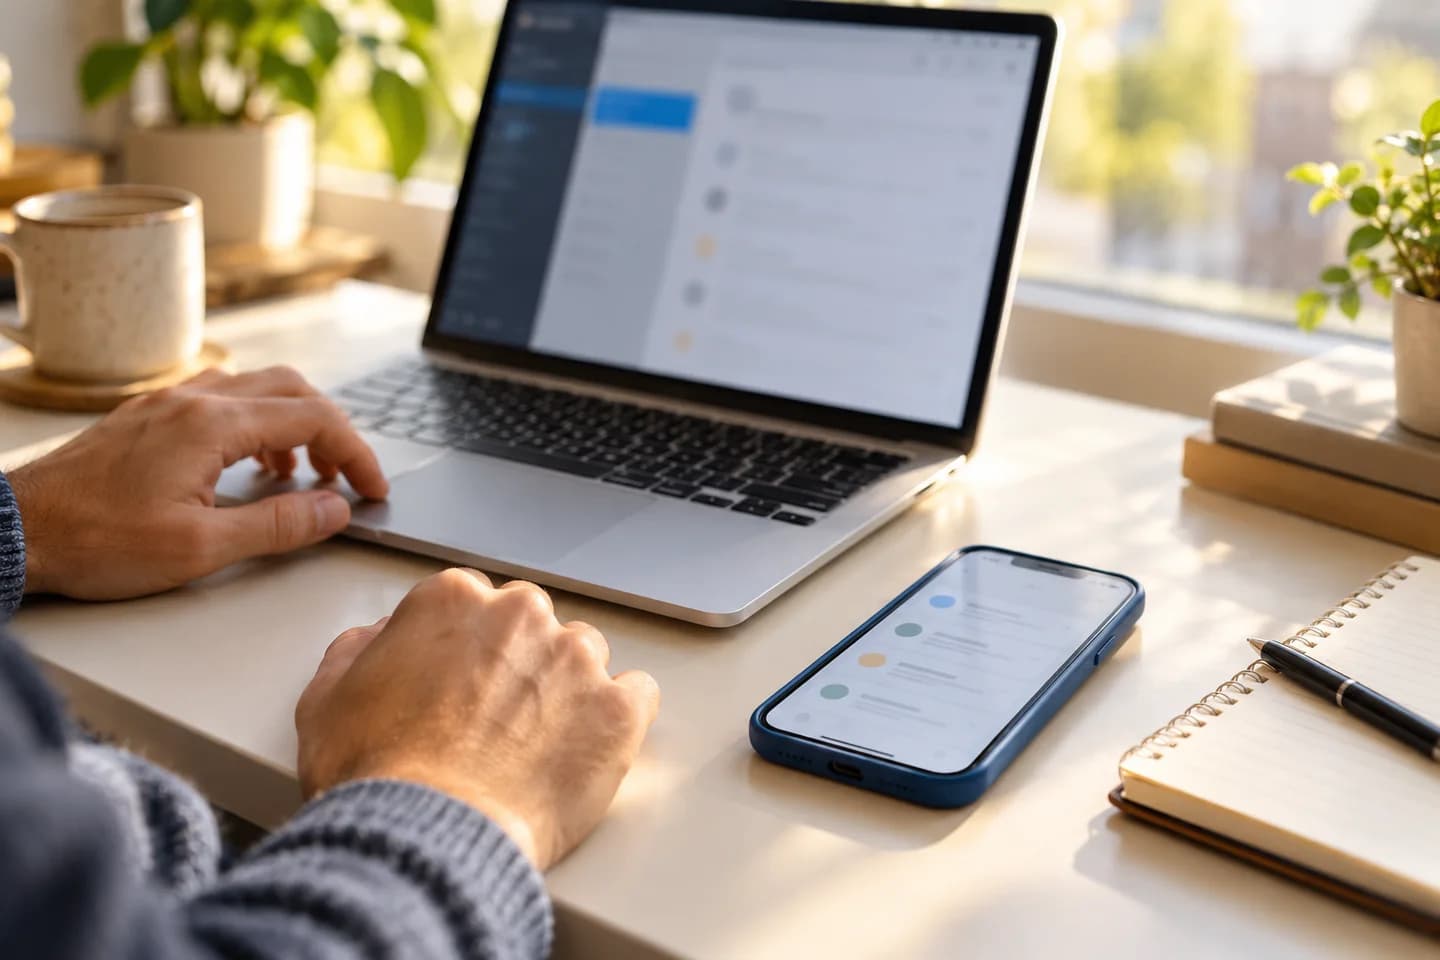
Moving to a new device or mail app can make your inbox look familiar while still changing how it behaves. Messages and folders belong to the mailbox; choices such as notification sounds, text size, and how conversations are displayed are often saved by the app or device. That means importing or syncing mail does not necessarily recreate your working setup. Before switching, make a short record of the preferences that matter, then check them individually in the new app. This guide explains what to separate and how to verify the result.
The useful bits
- Treat mailbox content and app preferences as two separate parts of a migration.
- Record display, notification, composing, and account-specific choices before switching.
- Confirm both message access and important preferences on the new device.
Two kinds of things can look like one setup
Mailbox content is the mail and related data associated with your account, such as messages and folders. If the new app connects to the same mailbox, it may show the content available there. The exact items that appear depend on the service and the way the app connects.
Preferences are instructions about how a particular app or device presents or handles that content. They can include display density, conversation grouping, notification behavior, and a default composing style. Some apps sync some preferences across devices; others keep them locally. Do not assume either behavior without checking.
Record the view you rely on
Before removing the old app or resetting a device, note the display choices that help you work: whether messages are grouped into conversations, which text size is comfortable, whether a preview appears in the message list, and how the inbox is sorted. The names and availability of these options vary by app.
A screenshot can help you remember a setting, but it does not transfer that setting. For important choices, write down the intended result in plain language—for example, “show newest messages first” or “keep conversation grouping off.”
Notifications are especially device-specific
Mail alerts may depend on both the mail app and the device’s notification controls. You might choose which account can alert you, whether alerts make a sound, and whether they appear on the lock screen. A new installation can have different notification permissions even when the mailbox itself is unchanged.
After setup, check notification permissions in the device settings as well as any account or alert controls available in the app. Send a harmless test message from an address you control, or ask a trusted sender to send one. Confirm that the alert appears in the way you expect; opening the inbox alone does not confirm that notifications are configured.
Check composing and identity details separately
A signature, preferred sender name, or rich-text composing choice may be stored with the mail service, in an app, or in both places. Do not count on a message import to carry these settings. Before switching, note the exact signature and sender details you intend to use, then inspect the new app’s available options.
BITTU Mail includes profile, name, and signature settings, but controls can depend on account role, plan, and provisioning state. Where those settings are available to your account, review them in the mail service as well as the new client. Send a draft or a message to yourself and inspect the received copy to confirm the sender details and signature.
A connection is not a preference migration
Connecting an app to a mailbox lets it access mail according to the service and the connection method; it does not establish that local preferences have been copied. If you configure BITTU Mail in an app that supports IMAP, the published incoming settings are mx1.bittuicloud.com on port 993 with SSL/TLS. Outgoing mail uses the same host on port 465 with SSL/TLS or port 587 with STARTTLS and authentication; use the full mailbox address as the username. Never use port 25 in a mail app, and do not accept certificate warnings.
These connection details address access and sending, not how the app displays messages or alerts you. If a setting is missing, look for it in the app or device controls rather than repeatedly importing messages.
Use a short before-and-after checklist
Keep the old setup available until you have checked both the mailbox and the everyday behavior of the new app. Avoid deleting the old account simply because the inbox has appeared; a visible inbox is not proof that every folder, preference, or alert behaves as intended.
- Before switching: note important display, notification, composing, and sender choices.
- After connecting: check that expected messages and folders are visible, and that recent mail can be opened.
- Recreate: set the preferred view, device permissions, alerts, and composing choices where available.
- Confirm: send a test message, inspect its sender details and signature, and check the expected notification behavior.
Before: [example.user@example.com] uses conversation grouping and sound alerts for new mail.
After: connect the mailbox, check the visible folders, then set grouping and sound alerts in the new app and device controls.
Confirm: send a message from [sender@example.com] and verify it appears, displays as intended, and produces the expected alert.
About this guide
Prepared with AI assistance for the BITTU Mail editorial library. Check important details against your original messages and current account settings. Product access depends on your role, plan and provisioning state. Provider interfaces and requirements can change.
View current plans · Security information · Suggest a correction